Last Epoch Temporal Sanctum is the dungeon where you fight Chronomancer Julra and reach the Eternity Cache for Legendary crafting. You need a Temporal Sanctum Key, enter through the Ruined Era route, and use the dungeon ability Temporal Shift to move between Divine and Ruined versions of its rooms.
The decisive boss mechanic is Julra's arena-wide clock explosion: switch eras before it resolves. After switching, place the resulting Dimension Tear near the edge and leave it. A reliable run depends on timing, safe floor space, and appropriate tier selection rather than trying to outdamage every overlapping attack. At Tier 2 or higher, the Cache also lets you guarantee one donor affix when crafting a Legendary.
Reach the dungeon entrance
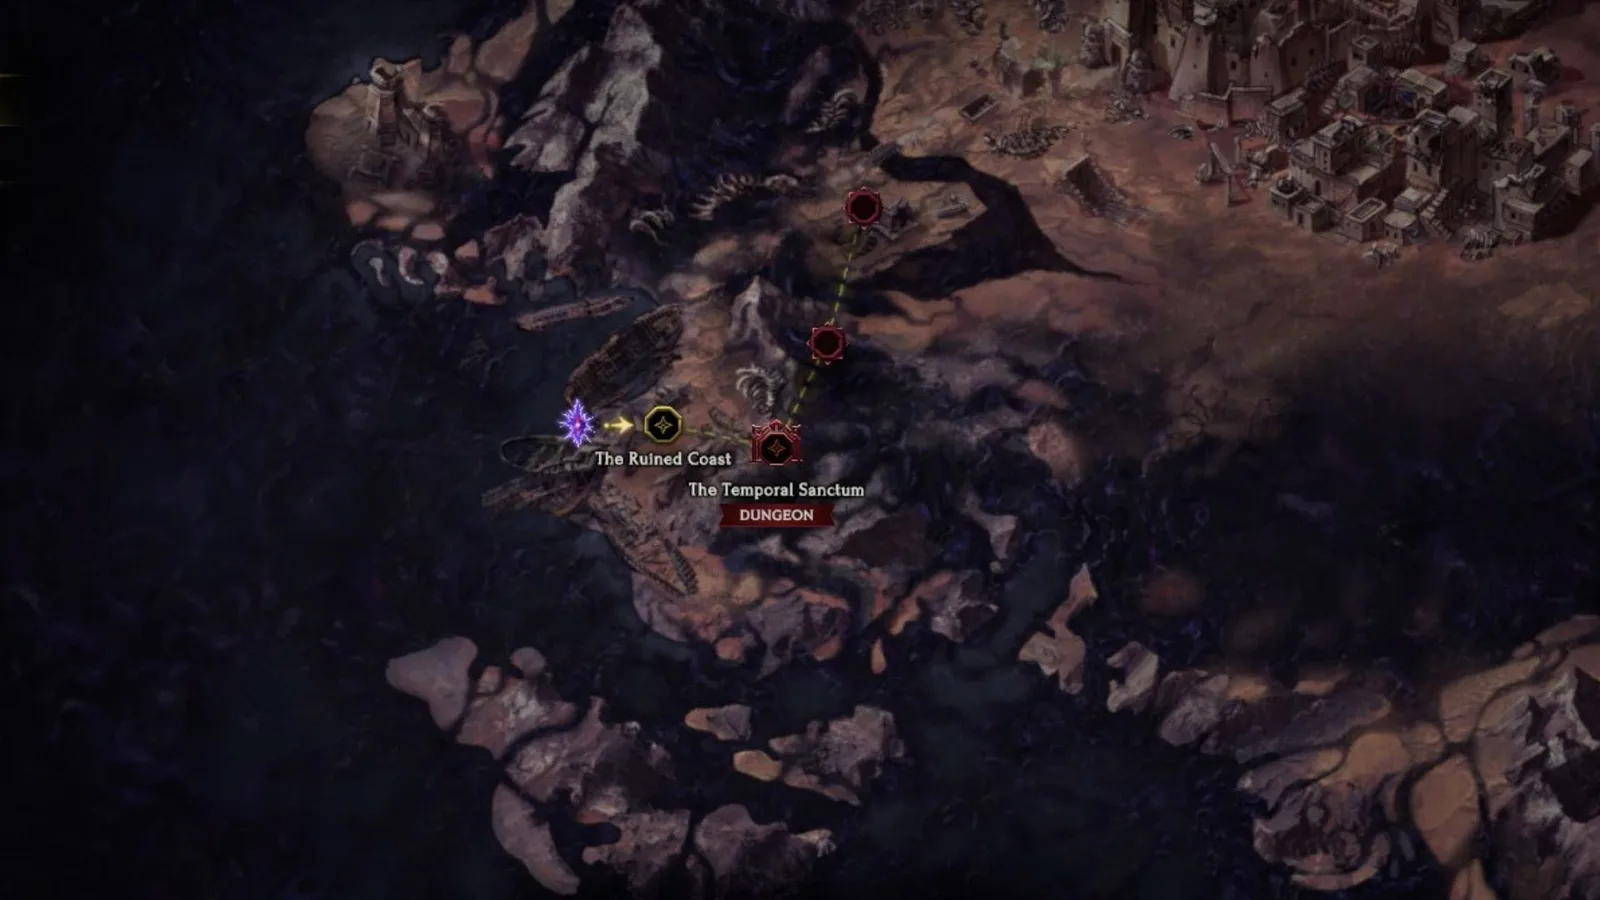
Begin at Shining Cove in the Imperial Era. Travel northeast from the portal to the large stone door, open it, and take the portal to Ruined Coast. The route toward the south is initially blocked, so start northwest and travel through the abandoned ships toward the bridge.
Pull the lever and defeat Ortra'ek the Survivor. The door east of the fight opens the route into Temporal Sanctum. Register the accessible waypoint so that later visits do not depend on retracing the approach from memory. Right-clicking a Temporal Sanctum Key also brings up the relevant position on the map.
Prepare the key and intended crafting materials before choosing the run. You can access the stash in the Cache room, but deciding your purpose in advance helps select a tier you can finish. A run for a specific Julra unique and a run for a high-level Legendary base may require different minimum tiers.
If you lack a key, obtain one before committing to the approach. Keys can drop from enemies, with timeline bosses providing a targeted farming option. There is no need to treat the entrance itself as a vendor or assume every trip to the location provides a free attempt.
Pick a tier that matches the reward
Temporal Sanctum has four tiers. Completing one unlocks the next, and higher tiers raise enemy level and add stronger modifiers. Choose the lowest tier that meets your actual reward requirement when learning the fight, then move upward as you can complete it consistently.
| Tier | Julra uniques available from this tier onward | Legendary unique-level restriction |
|---|---|---|
| 1 | Julra's Stardial | Up to level requirement 50 |
| 2 | Somnia | Up to level requirement 65 |
| 3 | Julra's Obsession | Up to level requirement 75 |
| 4 | Vessel of Strife | No unique-level restriction |
The table lists eligibility, not guaranteed drops. A Tier 4 clear can qualify for rewards that a lower tier cannot, but it does not promise the desired item on that attempt. Compare your clear reliability and the item requirement before repeatedly spending keys at the hardest unlocked tier.
At Tier 2 or higher, one donor affix can be selected for guaranteed transfer at the Eternity Cache. If that control matters to the intended craft, plan for at least Tier 2 even when your unique's level fits Tier 1. Conversely, a level-76 unique needs Tier 4 because it exceeds Tier 3's level-75 limit.
Check the daily modifier in the entrance interface. It changes, so a remembered reward from yesterday is not the current run's promise. Doors during the dungeon add further modifiers, with both reward benefits and difficulty costs. Read the negative effects as carefully as the item category offered.
Navigate both eras with Temporal Shift
Temporal Shift changes between Divine and Ruined Era versions of the dungeon. Its default binding is D, but use the key shown in your own controls if you have changed it. The ability is important for blocked paths and the Julra fight, so locate it before entering combat.
The two room versions share the broad layout while placing roadblocks differently. When a corridor stops, try the other era and examine the route again. Do not assume a dead end in one era means that every path back to the previous junction is necessary.
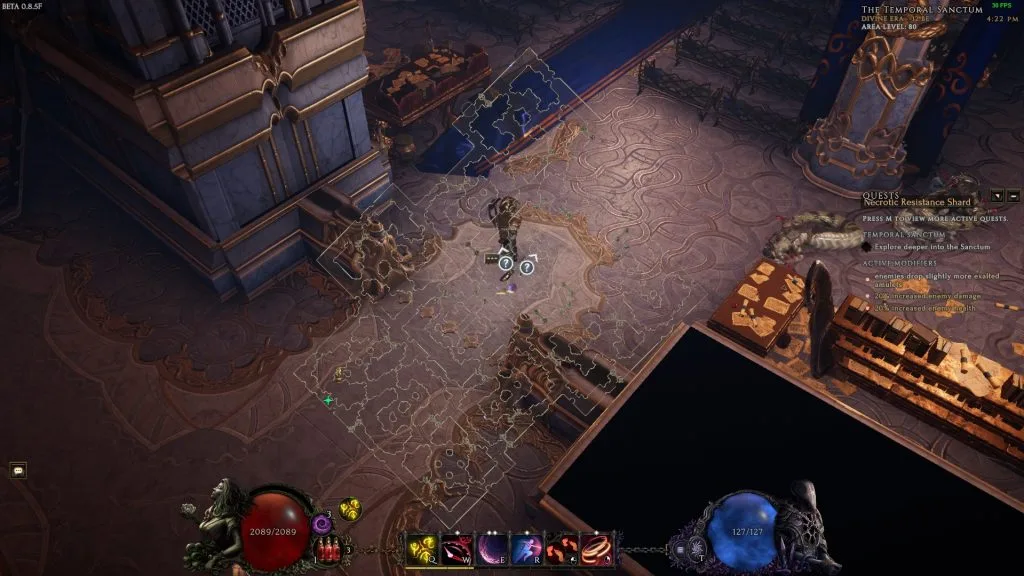
Check the same corridor after Temporal Shift to find an open passage.
Enemies also differ between versions. Shifting can open a route or change which pack you face, but it is not a universal invulnerability button. Observe the destination after the switch before immediately moving into a pack or ground effect.
Decide whether to clear rooms or head toward Julra from your selected modifiers and goal. An attractive exalted-item modifier can justify checking more of the dungeon; a run whose main purpose is one Legendary craft may benefit from focusing on the boss route. Avoid clearing both versions automatically when the additional loot does not match your objective.
Portal Charms offer a way to skip toward the boss when used in the entrance interface with the key. If using that option, remember that skipping traversal does not remove Julra's mechanics or change the crafting tier restriction. It is a routing choice, not a substitute for having an appropriate character.
Avoid the dangerous enemy patterns before Julra
Gorgons leave a poison tornado in front of themselves while backing away. Approaching directly through it can expose you to sustained poison damage. Move around the hazard rather than treating the shortest path to the enemy as the safest attack route.
Temporal Hunters appear in small packs, chase across eras, and apply poison through their melee attacks. Several arriving together can create a sudden defensive problem. Keep room to reposition, especially when shifting into an area whose nearby enemies you have not yet assessed.
Festering Cultists deal physical and void melee damage and can shred armor and void resistance. At higher tiers, prolonged stationary fighting against them can undermine defenses. Separate pack handling from boss readiness: reaching Julra with fewer potions or an exhausted resource pool makes the final encounter harder than it needs to be.
Void Husk Nagasa in the Ruined Era fire arcing void attacks; rare versions can create Putrefying Beam, a dangerous void damage-over-time area. Void Nightmare attacks have visible windups, including a charge and a piercing beam. Strafe out of the line during the windup instead of waiting for the hit to decide whether the attack is dangerous.
Escape Catastrophic Implosion before the clock resolves
Julra begins the fight with Catastrophic Implosion. A large clock progresses toward the explosion, which covers the arena with void damage and applies Doom. Temporal Shift is the intended way to avoid it. Move to the other era before the clock completes rather than relying on a movement dash within the same room.
You can attack during the countdown, but stop before the remaining window becomes uncomfortable. Learning the cue and your binding is more valuable than fitting one final attack into the first attempt. The same mechanic returns during the encounter, so escaping the opener is only the first repetition of a recurring responsibility.
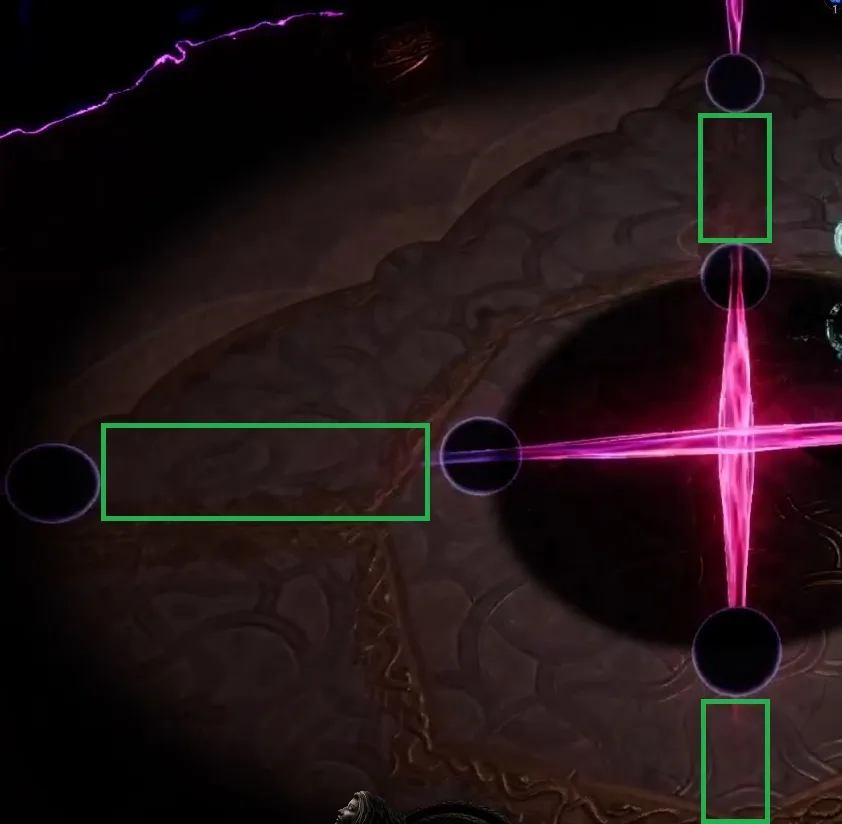
After you shift, Julra follows and starts creating a Dimension Tear beneath you. Use the short formation window to move toward an edge, then leave the puddle once it forms. This reserves more central floor space for later movement and reduces the chance that a necessary era switch lands you in a badly placed hazard.
Do not switch eras repeatedly without a reason. More switches can cause additional puddle-management problems, and the fight already requires switching for the clock. Use a deliberate response to the dangerous mechanic instead of treating Temporal Shift as a constant movement habit.
Patch 1.5.2 fixes an interaction where using a dungeon ability could trigger a cooldown skill in the leftmost skill slot. Do not build your Julra rhythm around receiving that accidental extra cast from Temporal Shift. Use the dungeon ability to manage the dungeon mechanic and use your actual combat skills for their intended effects.
Preserve space while other attacks overlap
Unraveling Decay creates rotating void beams. Stand in a safe gap between the beams while tracking Julra's other attacks and any puddles already placed. Running straight through a beam merely to reach the boss can be more dangerous than delaying damage until the safe gap gives you a path.
For melee characters relying on leech, the beam pattern can temporarily deny safe contact with Julra. Keep potions or another appropriate recovery option available for that window. A build that recovers comfortably while attacking can still be vulnerable when its position forces it to stop.
Healing Fountains restore Julra's health and should be destroyed when a safe opening allows. Do not stand in a lethal hazard solely to remove the fountain immediately. A small delay in damage is preferable to losing the attempt and key because you chased an objective through the wrong part of the floor.
Summoned pillars can be destroyed in the Divine Era, while in the Ruined Era you must avoid their attacks. Watch your next required clock switch and handle them when that switch makes sense. An extra shift purely to reach a pillar can complicate puddle placement if you use it without planning.
Other water, lightning, and void attacks add pressure around these central mechanics. Move out of marked ground areas and avoid lined attacks during their windup. The fight's difficulty comes from overlaps, so keep the main order of priorities clear: survive the clock, place the puddle, stay out of beams, then use safe damage windows.
Spend retry keys only with a corrective plan
A dungeon failure normally ends progress, but an additional dungeon key can purchase another attempt without losing the run's current progress when the retry option is offered. Read the death interface before confirming, and count that extra key as a new cost rather than a free continuation.
If you died to the clock, prepare to shift earlier. If a central puddle blocked later movement, move toward an edge before the next one forms. If ordinary attacks overwhelmed you before the important mechanic, lower the tier or stabilize defenses instead of repeatedly retrying the same configuration.
Keep retries tied to a specific correction. Learning one mechanic can justify another attempt; repeatedly dying for the same unresolved reason consumes keys without creating a better plan. No number of retry keys changes the unique-level requirement of the selected dungeon tier.
After updating the client, read the current retry behavior and encounter state. Earlier dungeon respawn bugs should not be treated as intended mechanics. If the interface behaves unexpectedly, distinguish that issue from a normal death caused by an attack or a tier you cannot yet handle.
Complete the Cache step after the boss
Once Julra dies, enter the Eternity Cache room. For a Legendary, provide a unique with at least one LP and a compatible exalted donor with exactly four unsealed affixes. A sealed extra affix does not transfer, and corrupted materials cannot be used for the combination.
At Tier 2 or above, select the eligible donor affix you want guaranteed. Put the materials into the Cache in the Divine Era, verify the selection, then shift into the Ruined Era to retrieve the result. Remaining affixes are random when the unique's LP allows additional transfers.
Only one Legendary can be made per dungeon run. Prioritize the prepared pair that gives your character the most useful immediate improvement, and check the finished item's level and class requirements before equipping it. A successful Julra kill completes access; retrieving and assessing the crafted item completes the purpose of the crafting run.