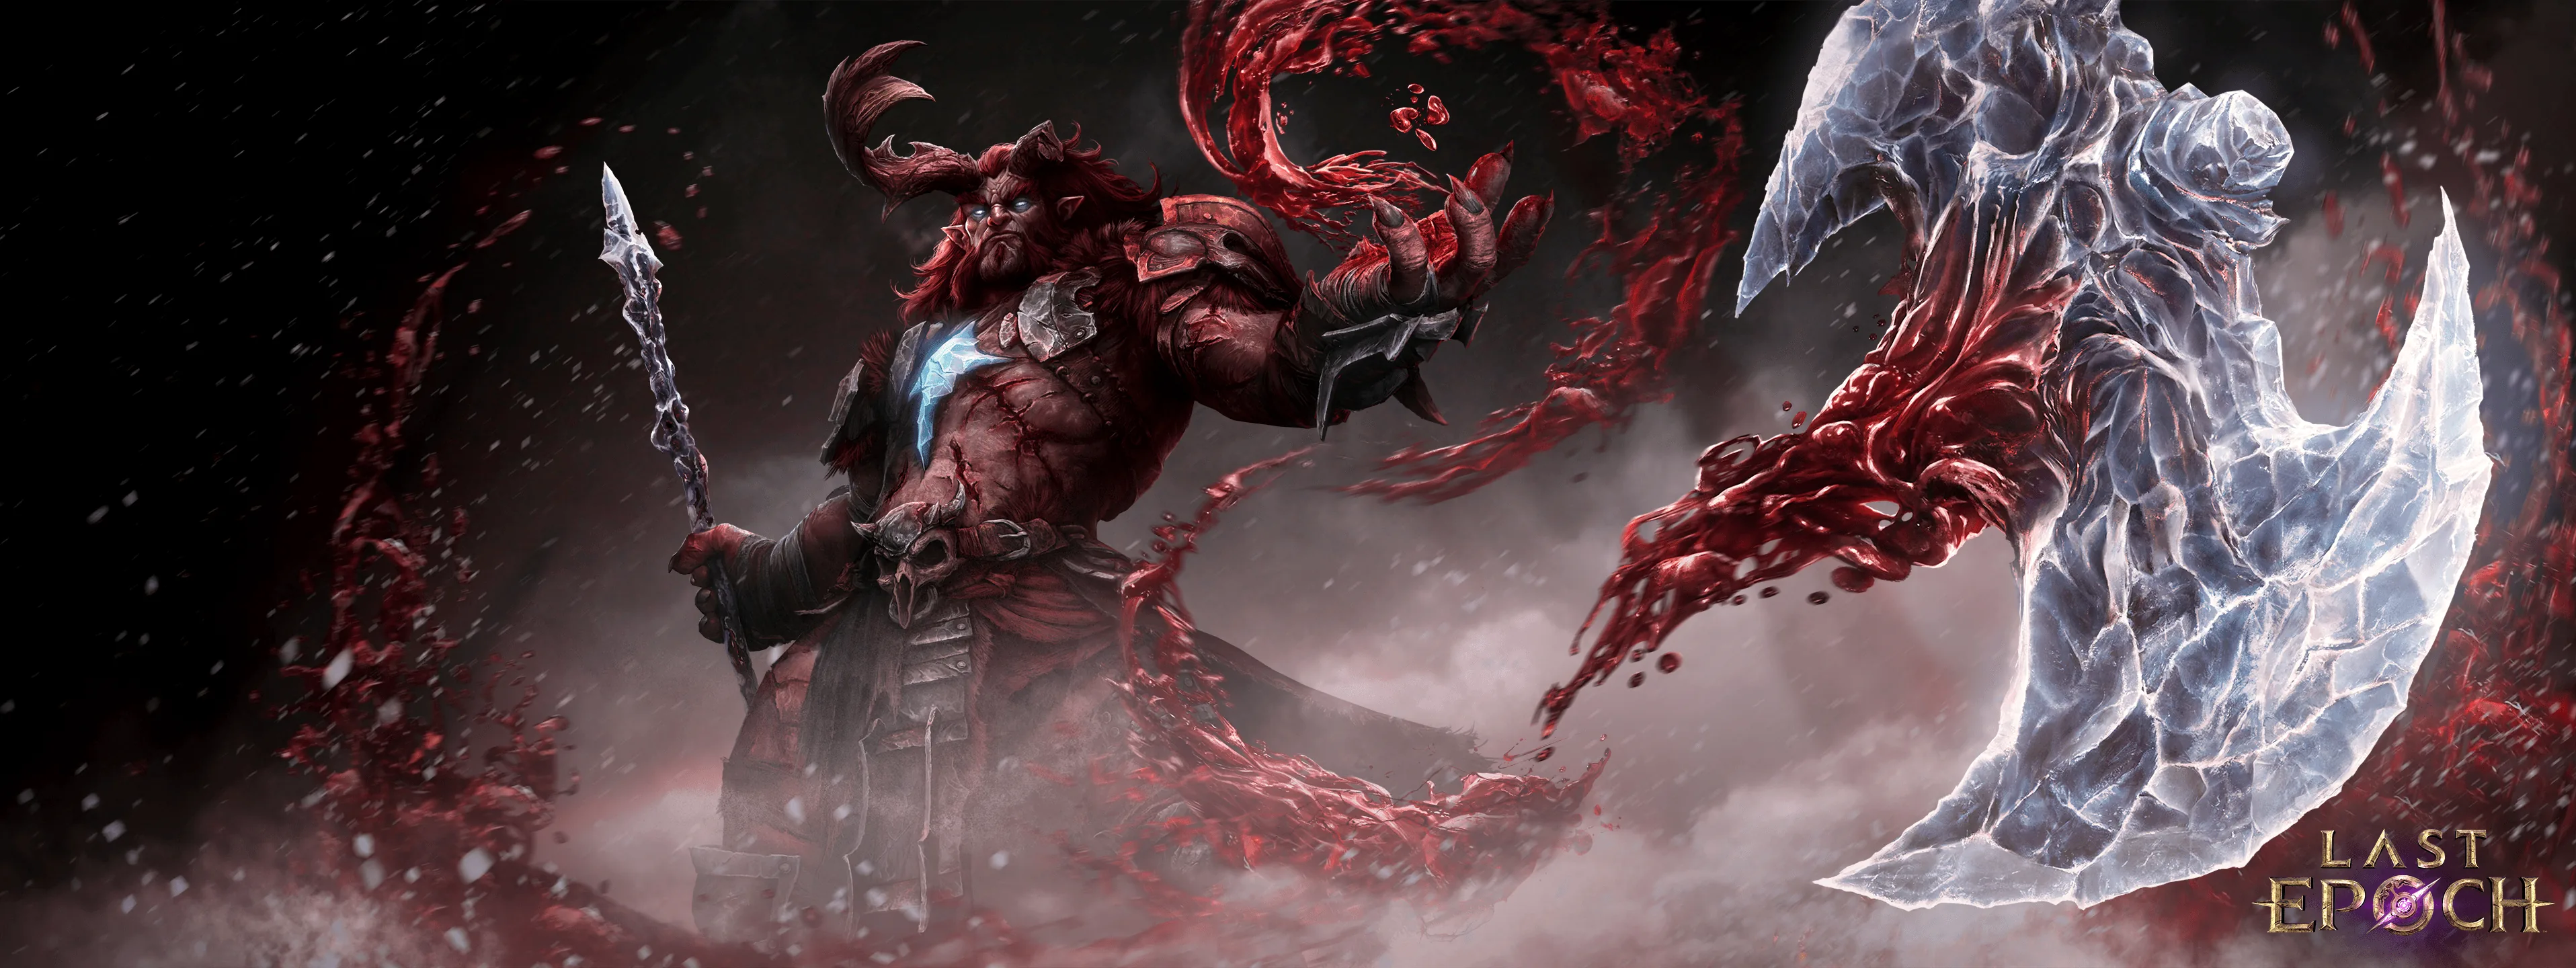
Last Epoch Season 5, Rage of the Frostborn, is built around a repeatable Rage of Morditas encounter that appears during the Campaign and Monolith of Fate. Your immediate goal is to activate a Blood Crystal, kill quickly enough to earn up to five Bloodrage Charges, survive a second combat phase, and then spend those charges on items or reward-modifying rituals.
The central limitation is that Bloodrage Charges do not carry into the next encounter. Your unclaimed reward panel does persist, however, so you can leave a promising selection untouched and return with a fresh set of charges later. Season 5 launched on October 1, 2026, and this guide covers its rules as of October 8, 2026.
Season 5 at a glance
| Season feature | What it means for your progression |
|---|---|
| Rage of Morditas | A random encounter available from Chapter 2 and in Monolith Echoes |
| Bloodrage Charges | Up to five temporary charges earned by killing enemies during the timed phase |
| Bloody and Frozen Rituals | Two ways to narrow or redirect the five-item reward panel |
| Morditas challenges | A Monolith progression chain ending with the standard Morditas encounter |
| Demigod’s Ascendance | A Pinnacle Woven Echo that requires 400 Corruption |
| Faction reworks | Direct Prophecy reward selection for Circle of Fortune and easier purchasing for Merchant’s Guild |
| New skills | Radiant Lance, Summon Tide Elemental, and Dreamslash |
The fastest way to understand the season is to treat it as two connected loops. The short loop is each individual encounter: earn charges, clear the gauntlet, and make a reward decision. The long loop happens in Monoliths, where repeated encounters advance Morditas-related challenges and eventually lead to the season’s new standard and pinnacle boss fights.
How a Rage of Morditas encounter works
Activate the Blood Crystal
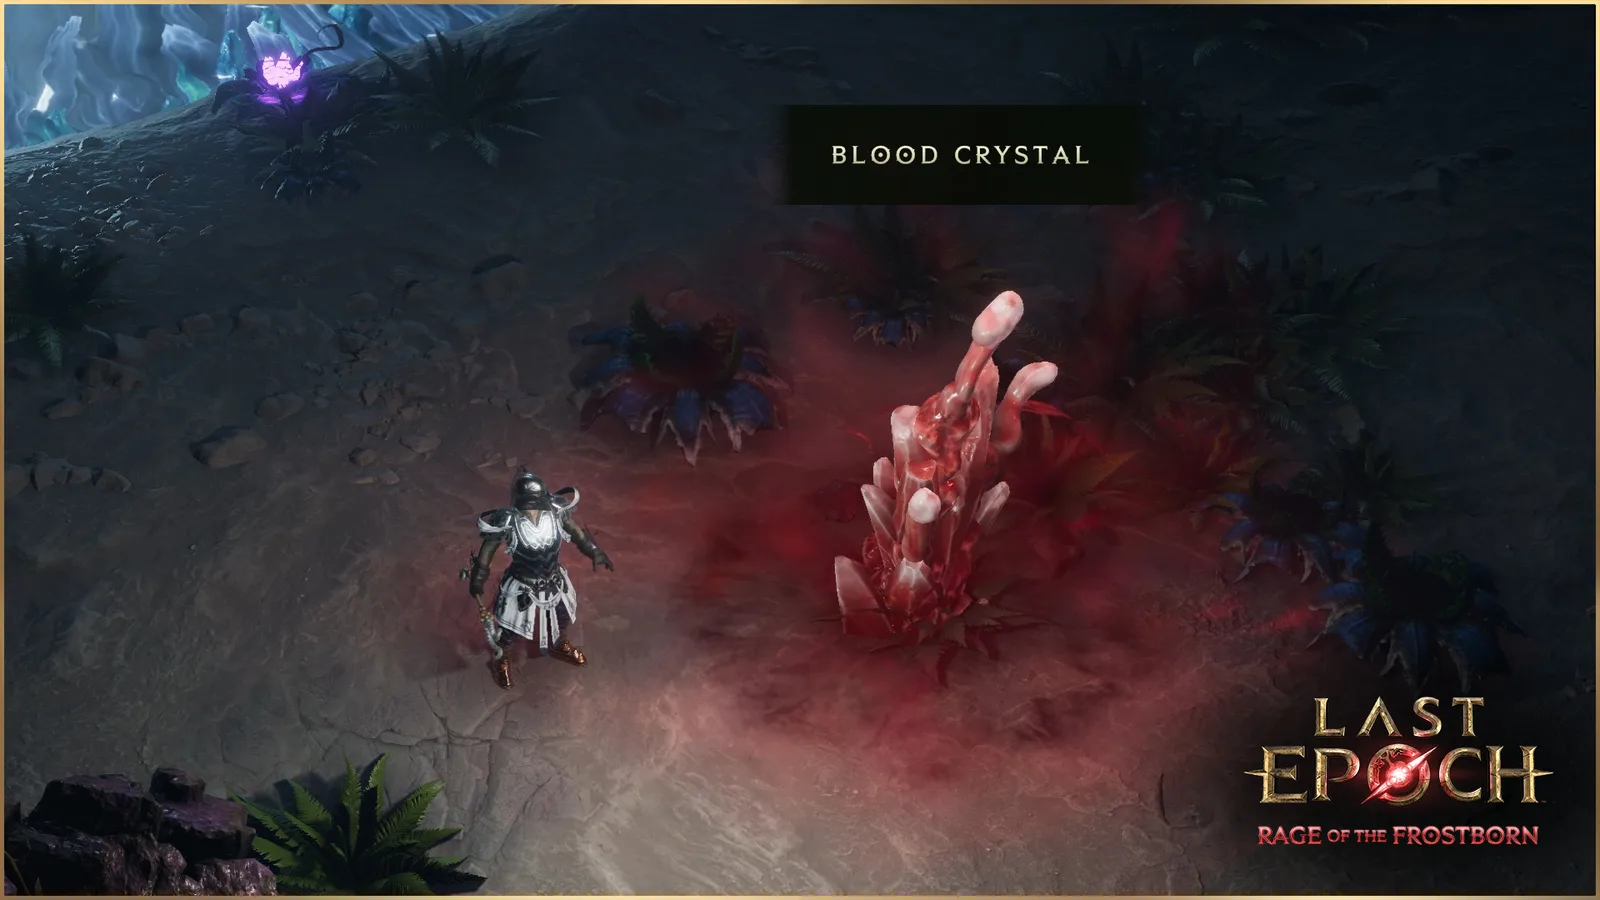
A Rage of Morditas encounter can appear in the Campaign as early as Chapter 2. In Monolith Echoes, it appears as an interactable Blood Crystal. Activating the crystal starts a timer and causes a non-corporeal Shade of Morditas to follow you.
During this opening phase, kill as many enemies as possible. Each kill extends the timer, with higher-rarity enemies providing larger extensions. Blood vapor trails point toward nearby enemies, so follow those trails instead of clearing empty corners of the zone.
Your kill total awards Bloodrage Charges at five thresholds:
| Enemy kills | Bloodrage Charge earned |
|---|---|
| 20 | First charge |
| 50 | Second charge |
| 90 | Third charge |
| 140 | Fourth charge |
| 200 | Fifth charge |
Each charge also grants one randomly selected Bloodrage buff from a pool of 28. These buffs last for the full encounter. In patch 1.5.2, Revitalizing Rage is not applied to characters using effects that grant ward per missing health; do not plan that defensive setup around receiving it. Once you exceed 200 kills, the timer begins falling rapidly, so the fifth charge is the practical reward ceiling rather than the start of another tier.
Survive the blood-ice gauntlet
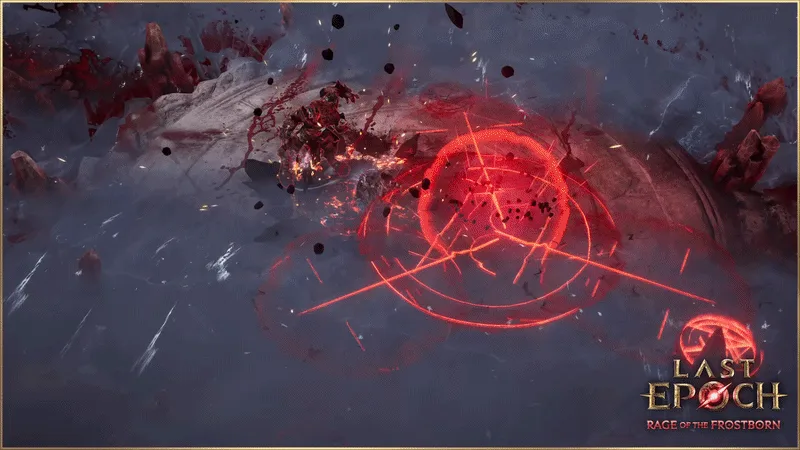
When the timer expires, Morditas forms a combat area surrounded by blood ice. Enemies slain during the first phase revive inside this gauntlet, turning a successful high-kill run into a more demanding second fight. Enemies killed in the gauntlet also advance equipped Weaver’s Will items in patch 1.5.2.
This creates a deliberate risk tradeoff. More first-phase kills give you more charges and buffs, but they also fill the second phase with more revived enemies. A character that clears ordinary Echoes comfortably may still struggle when many rare enemies and overlapping effects return at once.
You do not have to finish the entire gauntlet. Leaving the combat area for four seconds ends the second phase early. Use that exit when the revived pack is beyond your current defenses; the encounter is not worth losing progression merely to prove that the character can remain inside the ring.
After the second phase ends, a Blood-Filled Crystal appears. Interact with it to open the reward panel.
Spend Bloodrage Charges without wasting the reward panel
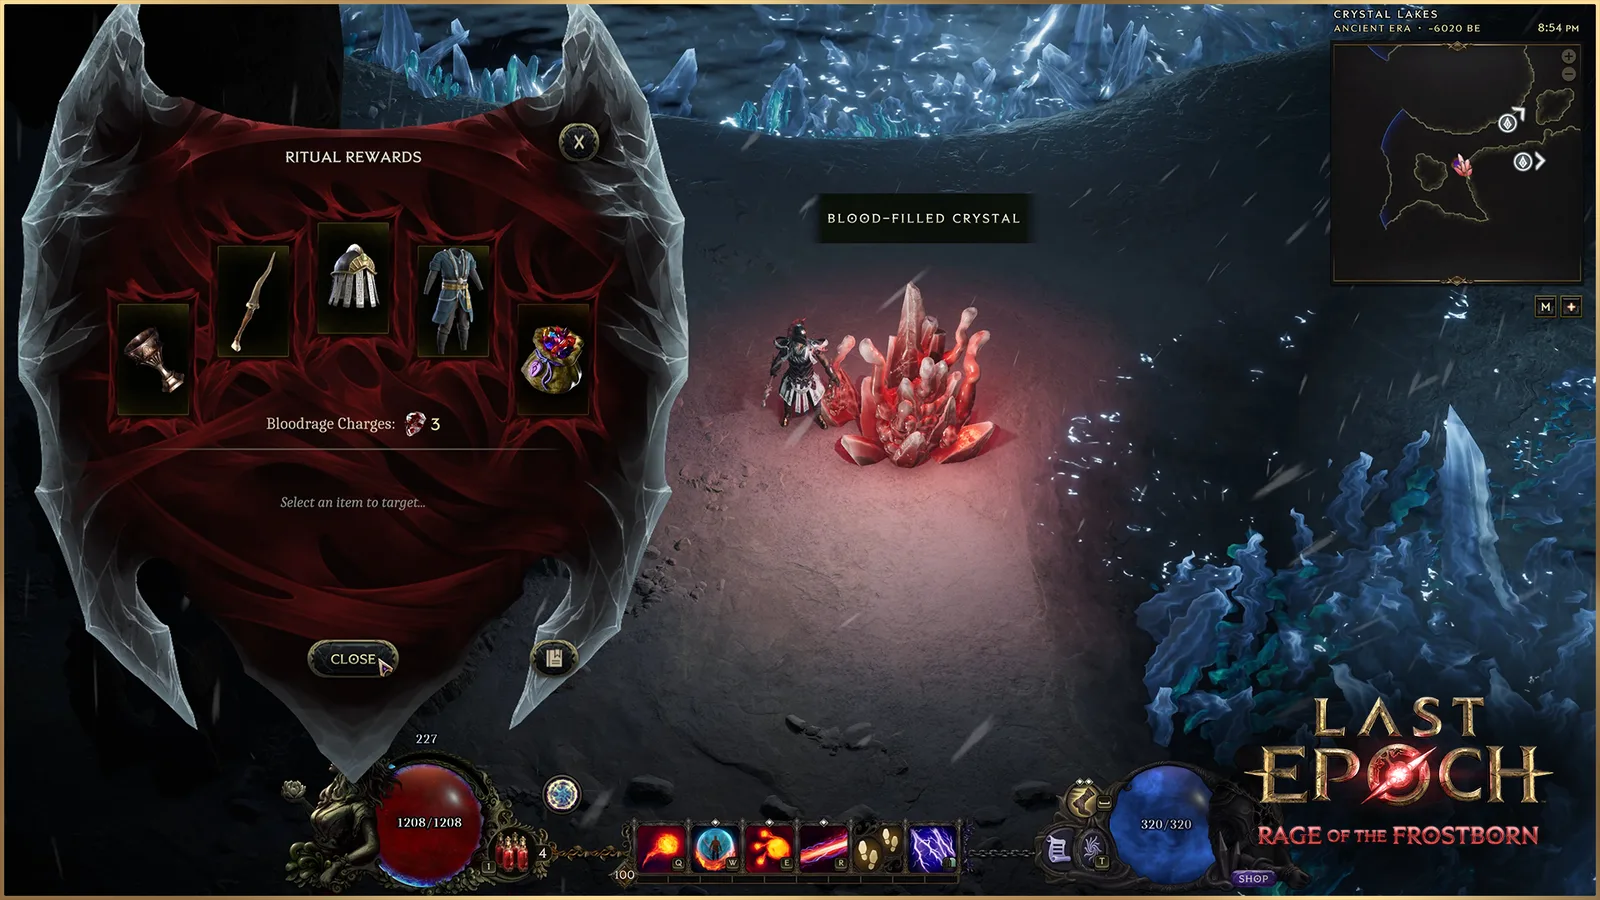
The reward interface presents five items. Each charge can claim an item, perform a Frozen Ritual, or perform a Bloody Ritual. Because every action spends a charge, decide what outcome you want before clicking.
| Action | Immediate effect | Best use |
|---|---|---|
| Claim | Takes the selected item, then resets the panel with five new items | The item is already useful enough to keep |
| Frozen Ritual | Sacrifices the selected slot and rerolls the remaining rewards as that same item type | You want more attempts at one promising equipment type |
| Bloody Ritual | Banishes the selected slot, rerolls the remaining slots, and excludes that item type | You want to remove an unwanted type from the current search |
A Frozen Ritual uses the item you select as the template for its type, but that selected reward is sacrificed. If you freeze an amulet, the following rewards will be amulets and have a higher chance to retain similar affixes; the exact affix tiers are not guaranteed. Rare and Exalted rewards produced this way receive Ice Forging Potential.
A Bloody Ritual does the opposite kind of filtering. If you use it on a two-handed axe, that slot disappears and two-handed axes stop appearing in later rerolls. The exclusion lasts until you claim an item from the proposed rewards. Rare and Exalted items affected by this path receive Blood Forging Potential.
The two special potentials have different crafting benefits:
- Ice Forging Potential can be preserved when it is used during crafting.
- Blood Forging Potential raises the chance of a crafting Critical Success.
Choose the special potential by the operation you intend to perform. Judge the base, affixes, and your intended craft first. The special potential improves the crafting opportunity, but it does not turn an irrelevant item into an automatic upgrade.
A practical reward sequence is:
- Claim an immediately valuable item instead of rerolling it for an uncertain improvement.
- Use Frozen Ritual when the equipment type is correct but the offered roll is not worth taking.
- Use Bloody Ritual on types that cannot serve your current character or planned craft.
- Stop when no remaining action improves your target meaningfully.
- Leave the panel untouched if it is promising but you lack charges; its state persists into the next encounter.
Do not try to bank unused Bloodrage Charges. They disappear between encounters even though the reward panel remains.
Progress from random encounters to Morditas
Rage of Morditas becomes part of your endgame route once you enter the Monolith of Fate. Completing these encounters causes Morditas to claim souls and advances three related challenges shown in the Nexus activity panel. When enough progress has accumulated, special Echoes unlock. The final Echo in that sequence, Circle of Frozen Blood, contains the standard Morditas boss fight.
Morditas also accumulates Anger while you defeat enemies. Higher Anger increases the difficulty and rewards of the three special Echoes. If the encounters outpace your build, the Nexus lets you soothe Morditas and reduce Anger. This makes Anger an adjustable risk setting, not a requirement to accept a fight that your current defenses cannot survive.
Defeating standard Morditas in Circle of Frozen Blood awards the special Pinnacle Woven Echo Demigod’s Ascendance. It must be placed into an Echo Web with 400 Corruption before you can challenge Morditas, God of Bloodshed. Reaching the standard boss is therefore only the first endgame milestone; the pinnacle route also requires a character capable of progressing to the 400-Corruption threshold.
Prepare for the full chain rather than optimizing only boss damage. You need adequate clearing speed for repeated encounters, enough defense for the revived gauntlets, stable Monolith progression, and a single-target setup that can handle the eventual boss fights.
Account for the faction changes before farming gear
Season 5 changes both Item Factions enough that older routines can waste time.
Circle of Fortune no longer asks you to reroll Prophecies repeatedly. You select a reward category for a Prophecy slot, and that slot gains charge progress as you earn Favor. Once it has a charge, completing either of its designated trigger conditions consumes charges and drops the chosen reward. Four slots unlock across faction ranks, and each can hold up to 99 charges. Lenses can modify charge speed or reward characteristics, but detailed slot configurations belong in a dedicated Circle of Fortune guide.
Merchant’s Guild members can now purchase all equippable item types regardless of faction rank. Ranks instead unlock bags containing crafting materials or keys. The Bazaar also supplies price suggestions based on recent sales of similar items and offers optional automatic price lowering with a floor, reduction amount, and hourly, daily, or weekly frequency. Patch 1.5.2 reduces the minimum automatic price reduction to one gold, allowing smaller adjustments than the previous 500-gold minimum. Early in a season, price history may not exist yet, so a missing suggestion is not proof that an item has no value.
The new Nexus panel brings Monolith timelines, activities, dungeons, factions, and Morditas information into one interface. It is accessible from Traveler’s Rest and the world map, and Traveler’s Rest now has its own waypoint. Use the Nexus to check Morditas progress and move between endgame activities instead of relying on older navigation habits.
Test the three new skills before committing to a build
Season 5 adds one skill each for Paladin, Shaman, and Bladedancer. These additions offer new combat loops. Try the skill behavior first, then choose a dedicated build with a leveling route, resource plan, and defensive setup.
Radiant Lance for Paladin
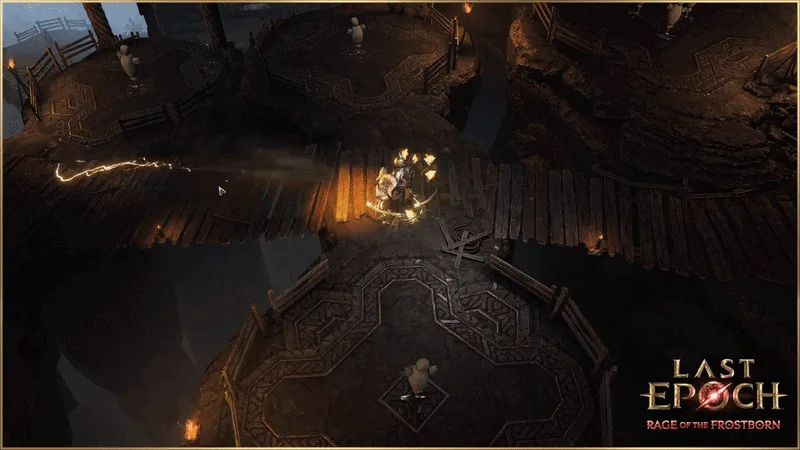
Radiant Lance unlocks after investing 15 points in the Paladin passive tree. Its baseline form requires a shield, deals more damage from uncapped Block Chance, and applies added damage at 500% effectiveness. Its tree can convert the skill to Fire or Void, place a Reliquary that casts it indirectly, or remove the shield requirement and scale damage from maximum Mana.
Summon Tide Elemental for Shaman
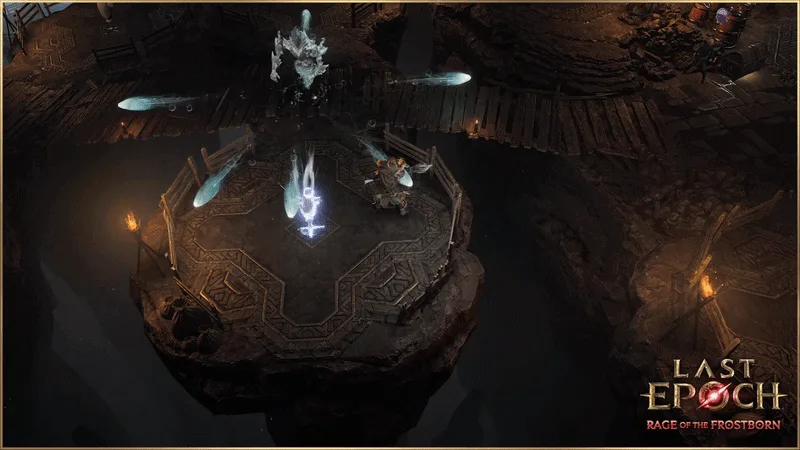
Summon Tide Elemental unlocks after 30 points in the Shaman passive tree. It creates one permanent Cold spell minion with a projectile attack and a Geyser on a four-second cooldown. Tree options can convert it to Lightning or Physical damage, turn it into a stationary Totem, or build interactions with Totems, Tornadoes, Storm Crows, and Maelstrom.
Dreamslash for Bladedancer
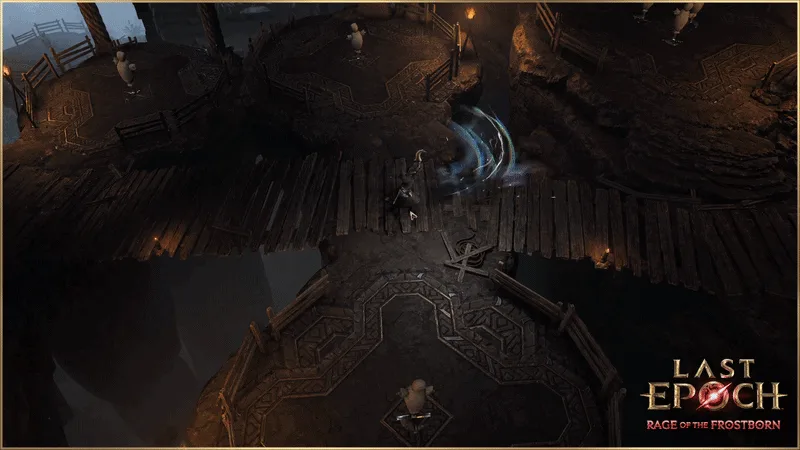
Dreamslash unlocks after 10 points in the Bladedancer passive tree and requires a melee weapon. It dashes toward a target when necessary, strikes enemies along its path, and can make nearby Shadows perform their own Dreamslash. Its tree supports Shadow interactions, Dream stacks, attack speed, ailments, Physical-to-Cold or Fire conversion, and a wave-style version that removes the movement behavior.
Treat these descriptions as mechanical starting points. They do not replace a supported leveling route, transition plan, defensive setup, and gear checklist for the individual skill.
Follow a clean Season 5 progression route
- Begin taking Rage of Morditas encounters when Blood Crystals appear, but leave the phase-two arena after four seconds if the revived pack overwhelms the character.
- Learn the five kill thresholds and aim only for the highest threshold your build can reach safely and consistently.
- Choose a reward target before spending charges. Claim good items, freeze desired types, and banish unwanted types.
- Enter Monoliths and continue completing the seasonal encounters to unlock the three Morditas challenges.
- Monitor Anger in the Nexus. Soothe Morditas if the special Echoes have become inefficient or unsafe.
- Defeat Morditas in Circle of Frozen Blood to obtain Demigod’s Ascendance.
- Build toward 400 Corruption before attempting to place the Pinnacle Woven Echo.
- Update old faction habits: choose Circle of Fortune rewards directly, or use the Merchant’s Guild’s revised purchasing and listing tools.
The most expensive Season 5 mistakes are spending a charge without understanding which item is sacrificed, expecting charges to carry over, following obsolete Prophecy-reroll advice, or treating ordinary Echo comfort as proof that a high-density Morditas gauntlet is safe. Avoid those errors and the season mechanic becomes a controlled progression system rather than a blind sequence of rerolls.